Cake Popsicles Recipe
Cake Popsicles Recipe – Fun, Easy & Perfect for Any Occasion
Have you ever wondered why cake pops have become so popular at parties, but wished they were easier to make and less prone to falling off their sticks? Enter cake popsicles – the perfect solution that combines the charm of cake pops with the stability and ease of popsicles!
This cake popsicles recipe transforms ordinary cake into delightful, handheld treats that are perfect for birthdays, holidays, or any celebration. Unlike traditional cake pops, these treats use popsicle molds for a foolproof shape that’s easier to dip and decorate.
Whether you’re a baking novice or seasoned pro, these cake popsicles will become your new go-to dessert for impressing guests with minimal effort. Let’s dive into this simple yet showstopping treat!
Table of Contents
Ingredients List
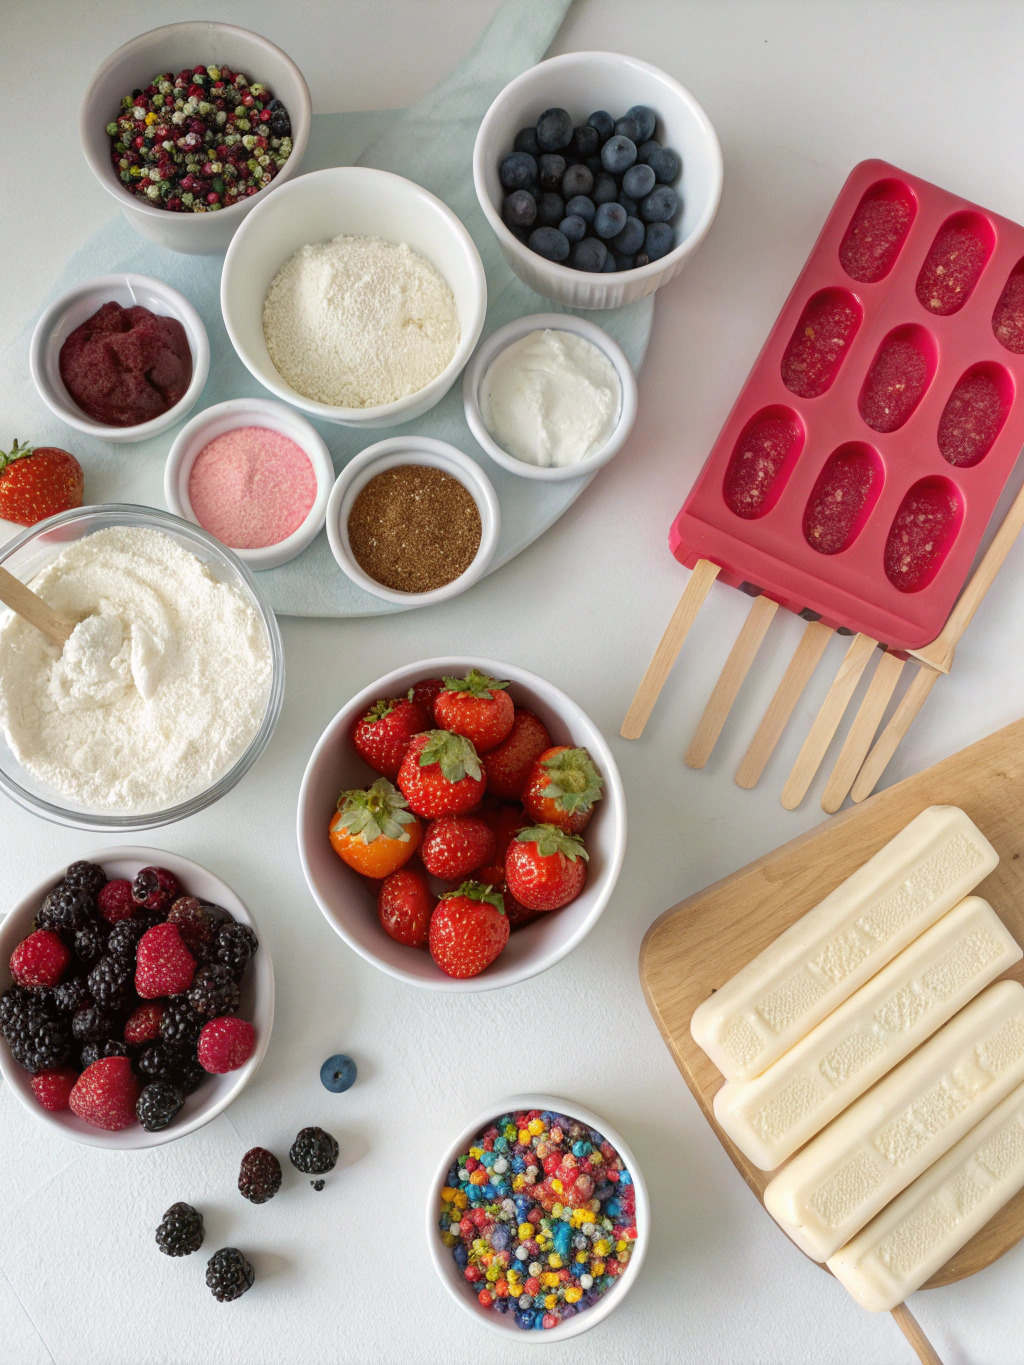
- 1 box cake mix (any flavor you prefer – chocolate, vanilla, and red velvet work beautifully)
- Ingredients called for on cake mix box (typically eggs, oil, and water)
- 1/2 cup frosting (store-bought or homemade; match to your cake flavor)
- 2 pounds candy melts or chocolate coating (white, milk, or dark chocolate)
- 2 tablespoons coconut oil or shortening (for thinning chocolate coating)
- Popsicle molds (silicone works best for easy release)
- Popsicle sticks
- Sprinkles, nuts, or other decorations (optional)
- Food coloring (optional, for customizing chocolate coating)
Substitution Ideas: No cake mix? Use 3 cups of crumbled homemade cake. Vegan? Use plant-based cake mix and frosting. For gluten-free options, simply substitute with your favorite gluten-free cake mix.
Timing
Preparation Time: 30 minutes
Baking Time: 25-30 minutes (as per cake mix instructions)
Cooling Time: 1 hour
Assembly Time: 30 minutes
Freezing Time: 2 hours minimum
Decorating Time: 30 minutes
Total Time: Approximately 4-5 hours (mostly inactive cooling/freezing time)
While this cake popsicles recipe takes about 5 hours from start to finish, the actual hands-on time is only around 90 minutes – 40% less active work than traditional cake pops that require rolling individual balls and dealing with balancing issues.
Step-by-Step Instructions
Step 1: Bake the Cake
Prepare and bake your cake according to package directions in a 9×13 inch pan. Allow the cake to cool completely – this is crucial for the next steps. Rushing with warm cake will create a gummy texture that’s difficult to work with.
Step 2: Create the Cake Mixture
Crumble the cooled cake into fine crumbs in a large bowl. Add 1/2 cup of frosting and mix until well combined. The mixture should be moist enough to hold together when pressed but not so wet that it’s sticky. You can test this by pressing a small amount in your palm – it should hold its shape.
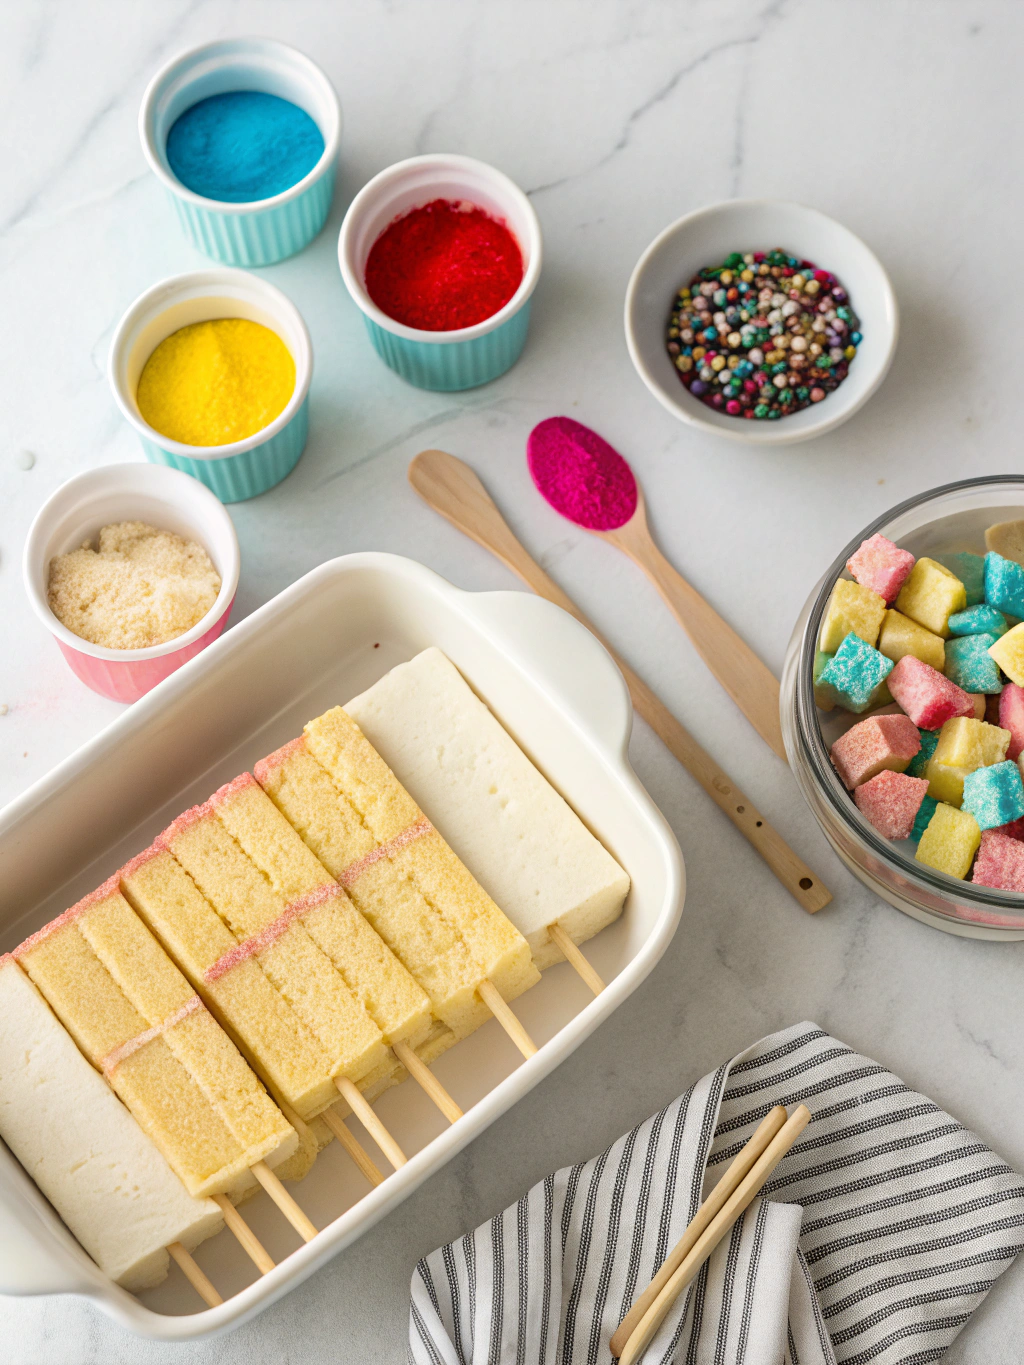
Step 3: Fill the Popsicle Molds
Press the cake mixture firmly into your popsicle molds, ensuring there are no air pockets. Fill each mold about 90% full, leaving a small space at the opening for expansion. Insert popsicle sticks about halfway into each mold and press down gently to secure.
Step 4: Freeze Until Solid
Place the filled molds in the freezer for at least 2 hours or overnight. This freezing step is essential for the popsicles to hold their shape during dipping. If you’re in a hurry, a blast chiller can reduce this time to about 45 minutes.
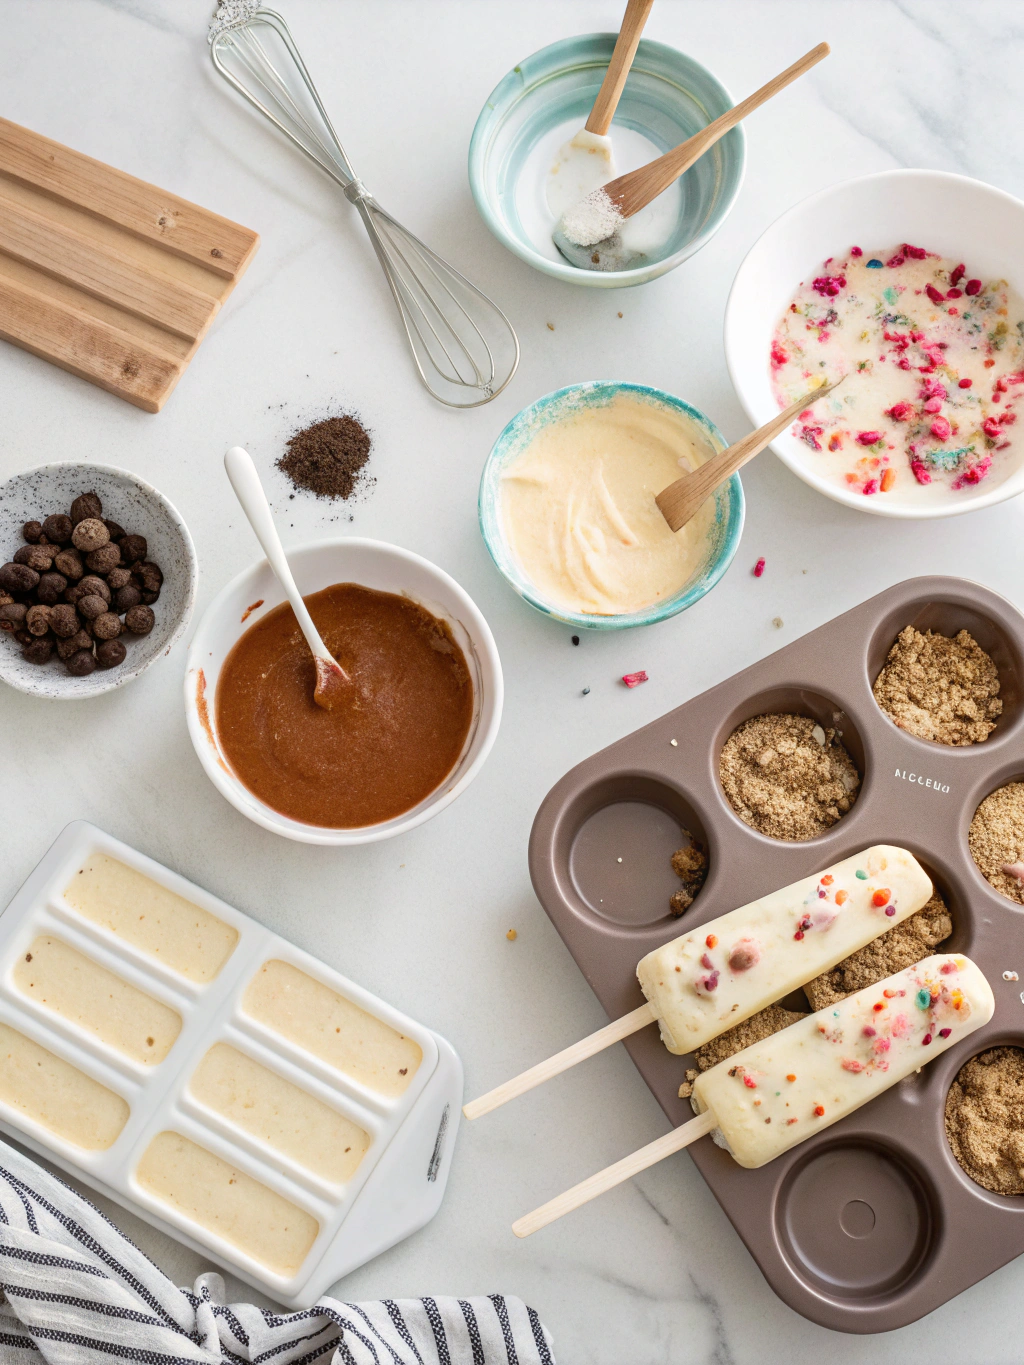
Step 5: Prepare the Coating
Melt candy melts or chocolate according to package directions. Add 1-2 tablespoons of coconut oil or shortening to thin the coating to a dippable consistency. If using white chocolate and want colored popsicles, add oil-based food coloring now. Pour melted coating into a tall, narrow container for easier dipping.
Step 6: Unmold and Dip
Carefully remove frozen cake popsicles from molds. Working quickly with one popsicle at a time (keeping others frozen), dip each popsicle into the melted coating. Use a gentle swirling motion to ensure even coverage, then lift and allow excess coating to drip off.
Step 7: Decorate
While the coating is still wet, quickly add sprinkles or other decorations. Place dipped popsicles on a parchment-lined baking sheet. If adding drizzles of contrasting chocolate, wait until the base coating has set first.
Step 8: Set and Store
Allow the coated cake popsicles recipe to set completely at room temperature (about 20 minutes) or speed up the process by placing them in the refrigerator for 5-10 minutes. Once set, they’re ready to serve or store for later enjoyment!
Nutritional Information
The nutritional content will vary based on specific ingredients used, but here’s an approximate breakdown per cake popsicle (based on a yield of 10-12 popsicles):
Calories: 320-350 calories
Total Fat: 16-18g
Saturated Fat: 9-11g
Cholesterol: 35-40mg
Sodium: 220-250mg
Total Carbohydrates: 42-45g
Dietary Fiber: 1-2g
Sugars: 30-32g
Protein: 3-4g
These cake popsicles contain approximately 30% fewer calories than a standard slice of cake with frosting, making them a portion-controlled treat. The individual serving size helps prevent overindulgence while still satisfying sweet cravings.
Healthier Alternatives for the Recipe
Looking to make this easy cake pop recipe more nutritious? Try these modifications:
Reduce Sugar: Use a reduced-sugar cake mix and frosting, or make your own cake with 25% less sugar than called for in traditional recipes. The sweetness from the chocolate coating will compensate.
Add Nutrition: Incorporate 1/4 cup of finely ground nuts, 2 tablespoons of flaxseed meal, or 1/4 cup of pureed fruits like applesauce or mashed banana into your cake mixture for added fiber and nutrients.
Better Fats: Replace vegetable oil in the cake mix with equal parts unsweetened applesauce or Greek yogurt. Use dark chocolate (70% cacao or higher) for coating to increase antioxidant content.
Dietary Adaptations: For keto-friendly versions, use almond flour-based cake and sugar-free frosting. For vegan options, select plant-based cake mixes and dairy-free chocolate for coating.
Serving Suggestions
Elevate your cake popsicles with these creative serving ideas:
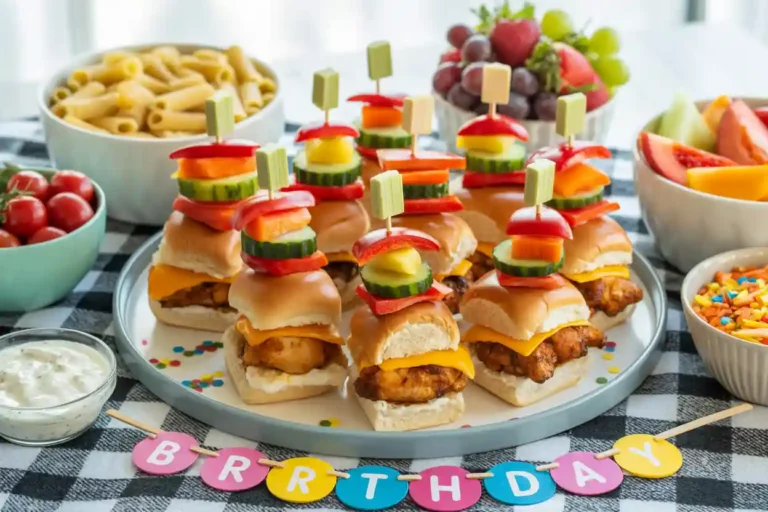
Dessert Platter: Arrange cake popsicles on a decorative platter with fresh berries and mint leaves for a stunning dessert table centerpiece.
Celebration Display: Stand popsicles upright in a block of floral foam covered with tissue paper or candy for birthdays or special events.
Pairing Options: Serve alongside small cups of warm chocolate ganache for dipping, or with coffee, milk, or champagne for adults.
Seasonal Adaptations: Match colors and decorations to holidays – orange and black sprinkles for Halloween, red and green for Christmas, or pastels for Easter.
Gift Presentation: Individually wrap each popsicle in cellophane tied with ribbon for party favors or sweet gifts that transport well.
Common Mistakes to Avoid
- Using Warm Cake: Always allow cake to cool completely before crumbling to avoid a gummy texture.
- Adding Too Much Frosting: Start with less frosting than you think you need (about 1/2 cup) and add more only if necessary. Too much creates an overly soft mixture that won’t hold shape.
- Skipping the Freezing Step: Freezing for at least 2 hours is non-negotiable. Unfrozen popsicles will fall apart during dipping.
- Coating Too Thick: Without thinning agents like coconut oil, chocolate coatings can become too thick, creating a hard shell that cracks when bitten.
- Working with Too Many at Once: Remove only 2-3 popsicles from the freezer at a time to prevent softening while you work.
- Rushing the Setting Process: Allow each layer of coating to set completely before adding additional decorations to prevent smearing.
Storing Tips for the Recipe
Proper storage ensures your cake popsicles remain fresh and delicious:
Room Temperature: Finished cake popsicles can be stored at room temperature for 1-2 days in an airtight container, making them perfect for preparing ahead for parties.
Refrigeration: Store in the refrigerator for up to 1 week in a container with parchment paper between layers to prevent sticking. Allow 10-15 minutes at room temperature before serving for best texture.
Freezing: For longer storage, place fully set cake popsicles in a single layer on a baking sheet until frozen solid, then transfer to freezer bags with parchment between layers. They’ll keep for up to 3 months.
Transportation: When bringing to events, place in a cooler with ice packs to maintain shape, especially in warm weather. Stand upright if possible to prevent coating damage.
Conclusion
These delightful cake popsicles combine the best of both worlds – the scrumptious taste of cake pops with the convenient shape and stability of popsicles. They’re perfect for beginners yet impressive enough for experienced bakers looking to add something special to their dessert repertoire.
The beauty of this recipe lies in its versatility – change up cake flavors, coating colors, and decorations to suit any theme or occasion. From birthday parties to holiday gatherings, these treats are guaranteed to bring smiles.
Have you tried making these cake popsicles? We’d love to see your creations! Share your photos and experiences in the comments below, or tag us on social media. And if you’re looking for more creative dessert ideas, be sure to subscribe to our newsletter for weekly inspiration delivered straight to your inbox!